
Start With The Right File For The Job
Good filing starts before the tool touches the metal. A coarse file will remove material fast, but it can leave deep marks that mean extra work with emery cloth or a flap disc later. For most workshop jobs, keep a small set ready: a flat file for edges, a half round for curves, and a round file for holes or tight corners.
Match the cut to the task. A rough cut suits heavy stock removal on mild steel, while a second cut or smooth cut is better when you want a cleaner surface. On stainless or hardened parts, take lighter passes and avoid forcing the file. If the teeth clog, stop and clean it with a file card or a short stiff wire brush.
- Flat file for straight edges and square faces
- Half round file for inside curves and concave surfaces
- Round file for slots, holes and radiused corners
- File card to clear swarf before the teeth load up
Hold The Work Firmly Before You File
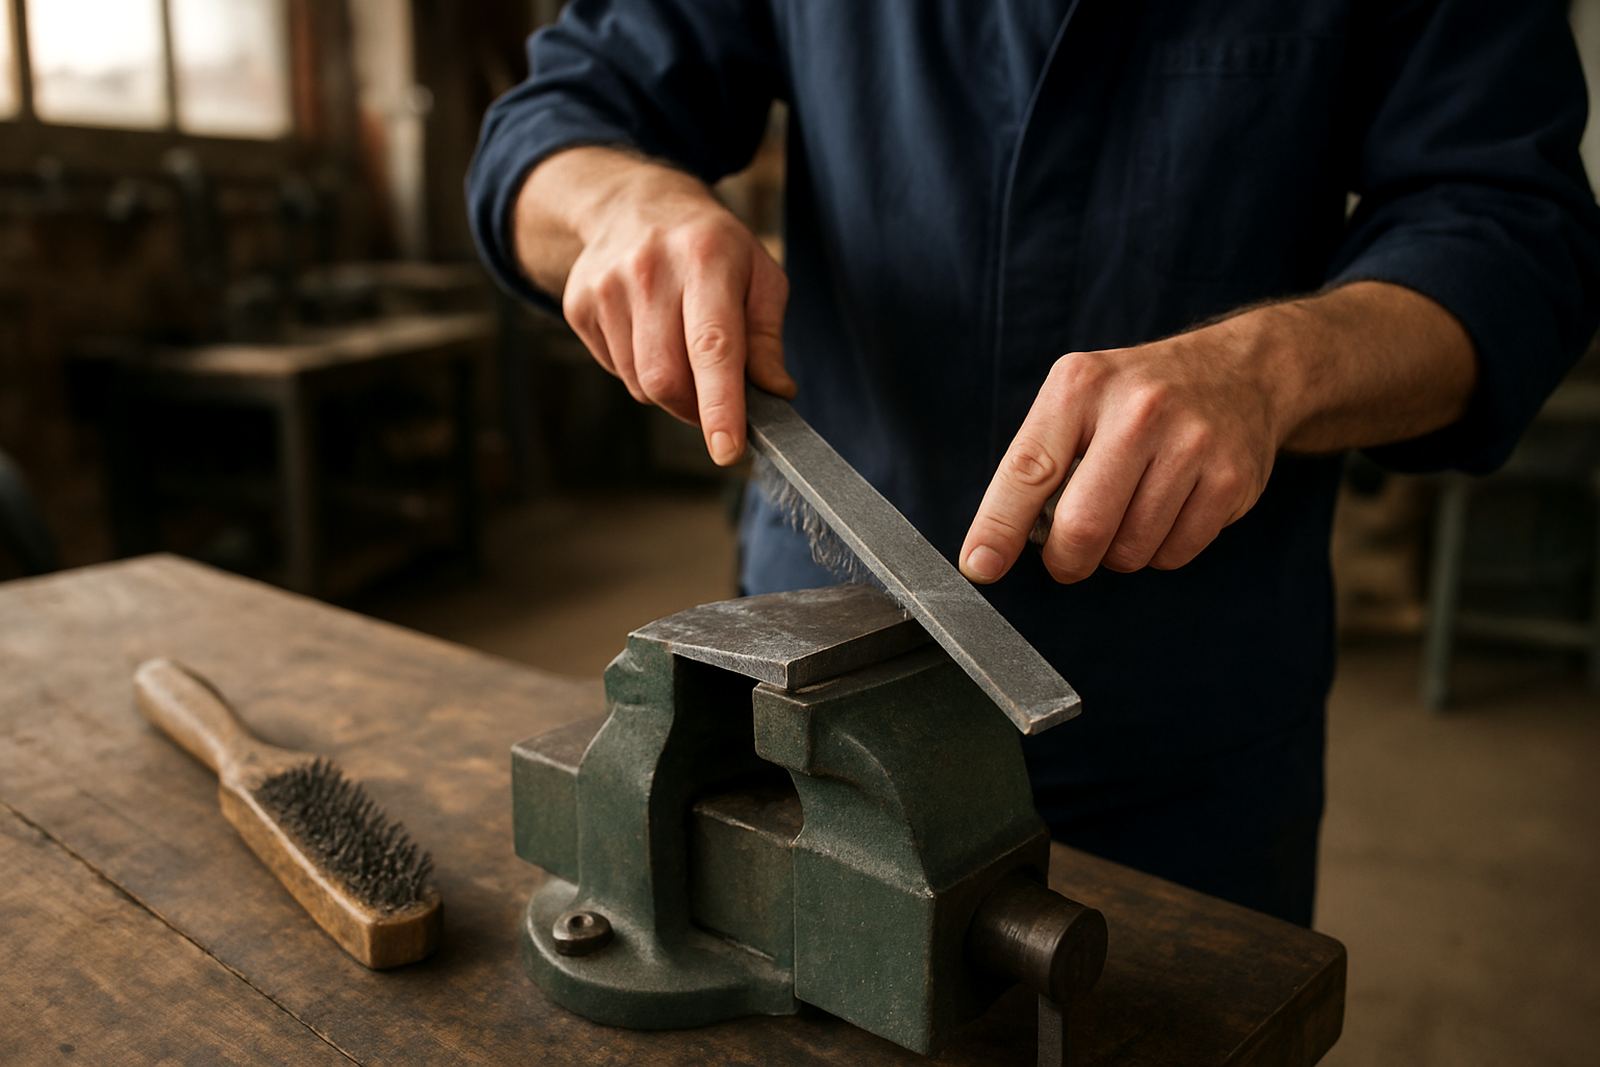
File work should never move around in the vice. If the job shifts, your edge goes out of square and the finish becomes uneven. Clamp the work close to the filing area, but leave enough access so you can work the full length of the file. On thin sections, use soft jaws or packers so you do not mark the metal.
In a Pinetown workshop, it is common to see small fabrication jobs coming off a chop saw or grinder before final fit-up. That is where filing matters most. A bracket for a gate motor, a mounting plate for a compressor line, or a simple repair on a trailer drawbar all need edges that line up cleanly. If you rush this step you often end up chasing gaps later.
- Clamp near the work area to reduce vibration
- Use soft jaws on painted or polished parts
- Check that the file handle is fitted securely
- Keep your stance balanced so the stroke stays straight
Use Smooth Push Strokes, Not Sawing Motions
A file cuts on the forward stroke. Push evenly across the surface and lift slightly on the return stroke, do not drag it back hard. That gives a cleaner cut and helps the teeth last longer. Keep both hands on the file where possible, with one hand on the handle and the other on the tip for control. Long, even strokes are usually better than short jerky ones.
Angle matters too. If you tilt the file too much, you round the edge without meaning to. If you keep it too flat, you may polish high spots while leaving low spots untouched. Aim to let the full length of the file do the work. That also helps prevent grooves, which is useful when you are trying to make parts meet neatly in a weld prep or a bolt slot.
- Push on the forward stroke only
- Lift or ease off on the return stroke
- Keep pressure steady across the full stroke
- Watch for a consistent scratch pattern
Control Edges Before They Become A Problem
Most filing jobs in a workshop are about edge control more than heavy metal removal. Sharp burrs can cut hands, damage cables and stop parts seating properly. After cutting steel tube, flat bar or sheet, take a few passes to remove the burr and break the edge. You do not need to remove too much, just enough so the part is safe and tidy.
For finishing work, check the edge with your fingers and sight along the face. The touch test is still one of the quickest ways to find high spots, especially on short parts. If the edge needs to stay square, file from one side and then from the other to keep the face true. On aluminium, go lightly because the metal loads the file faster and the surface marks show quickly.
- Break sharp edges after cutting or drilling
- Use light pressure for final finishing
- Check square with a try square or straight edge
- Clean the file often to stop clogging
Common Filing Mistakes That Waste Time
One of the most common mistakes is using a worn file that no longer cuts properly. The tool starts sliding instead of removing material, so you press harder and the finish gets worse. Another problem is filing in one small spot until a hollow forms. That usually means the part will not mate well with the next component. Keep the file moving across the full length of the edge.
Skipping the clean-up step is another issue. If you leave burrs behind, they can break off later and land in moving parts or electrical enclosures. In coastal areas like Durban, it also helps to wipe tools down after use because damp air can mark metal tools and shorten their life. A quick clean and a light coat of oil can save you replacing tools too soon.
- Do not force a blunt file
- Do not file only one small section
- Do not leave burrs on finished parts
- Store files dry and separate so the teeth do not rub
A Practical Pinetown Example For Small Workshops
Consider a small fabrication shop in Pinetown making steel supports for shelving in a retail back room. The cut list is short, the customer wants a neat fit, and the installation has to happen before trading hours. After cutting, the fitter files each end square, removes burrs, and checks the length against the drawing before drilling the fixing holes. That small bit of care keeps the parts aligned and avoids site rework.
For starter workshops, this is why filing belongs in the basic tool kit from day one. It is low cost, quiet during load-shedding if you are finishing hand work by torch light, and it helps you turn rough cuts into parts that install properly. If you are setting up in New Germany, Westmead, Hillcrest, Durban North or Umhlanga, the same approach applies: keep the tools simple, the process consistent and the finish clean.
Filing is not glamorous, but it pays for itself every time a bracket fits first time and a job leaves the bench without sharp edges.