
Why a training corner pays off in day-to-day trade work
A training corner is not about fancy fittings. It is a dedicated area where staff, apprentices or family members can practise the basics without holding up the main job bench. In a busy Pinetown workshop, that usually means a simple space for measuring, fastening, cutting and kit familiarisation before anyone touches live work.
The benefit is steady learning. People get used to tool weight, grip, trigger response and bit changes in a calm setting, so they make fewer mistakes when the pressure is on. That matters whether you are introducing a new starter, checking a replacement tool, or showing a home user how to handle a drill safely. Over time, the workshop runs better because the same routine is repeated in the same place.
In Durban’s coastal air, a separate corner also helps with control. Tools, fasteners and consumables stay together instead of being spread across open benches where humidity, dust and general traffic can affect them. If you have ever had a box of fixings go rusty or a corded tool knocked off a crowded table, you will know why a small dedicated space is worth the effort.
Choose a corner that stays dry, visible and close to power
Start by looking for a space that is out of the main through-flow but still easy to reach. A corner near a wall socket, storage shelf and good lighting is ideal. If load-shedding affects your area, keep the training corner workable by using battery lamps or task lights with backup power. That way the learning does not stop when the supply does.
For workshops in Westmead, New Germany or Hillcrest, a spot near a roller door can be useful, but only if rain blowing in from the side will not wet the floor or the practice tools. Avoid areas where grinders, welders or paint work cause too much dust. The learner should be able to focus on hand placement, sequence and safety, not on dodging other jobs.
- Pick a flat floor area with enough room for one person to work and one supervisor to stand nearby
- Keep the corner close to storage for drill bits, cutters, tapes, blades and PPE
- Use clear marking so everyone knows this is a practice area, not a general dumping spot
- Make sure sockets, extensions and chargers are neat and easy to inspect
Where possible, use a wall or partition to separate the corner from the rest of the shop. It does not need to be built up fully. Even a simple divider can help with focus and keep tools from walking off.
Stock the space with starter tools and practice materials
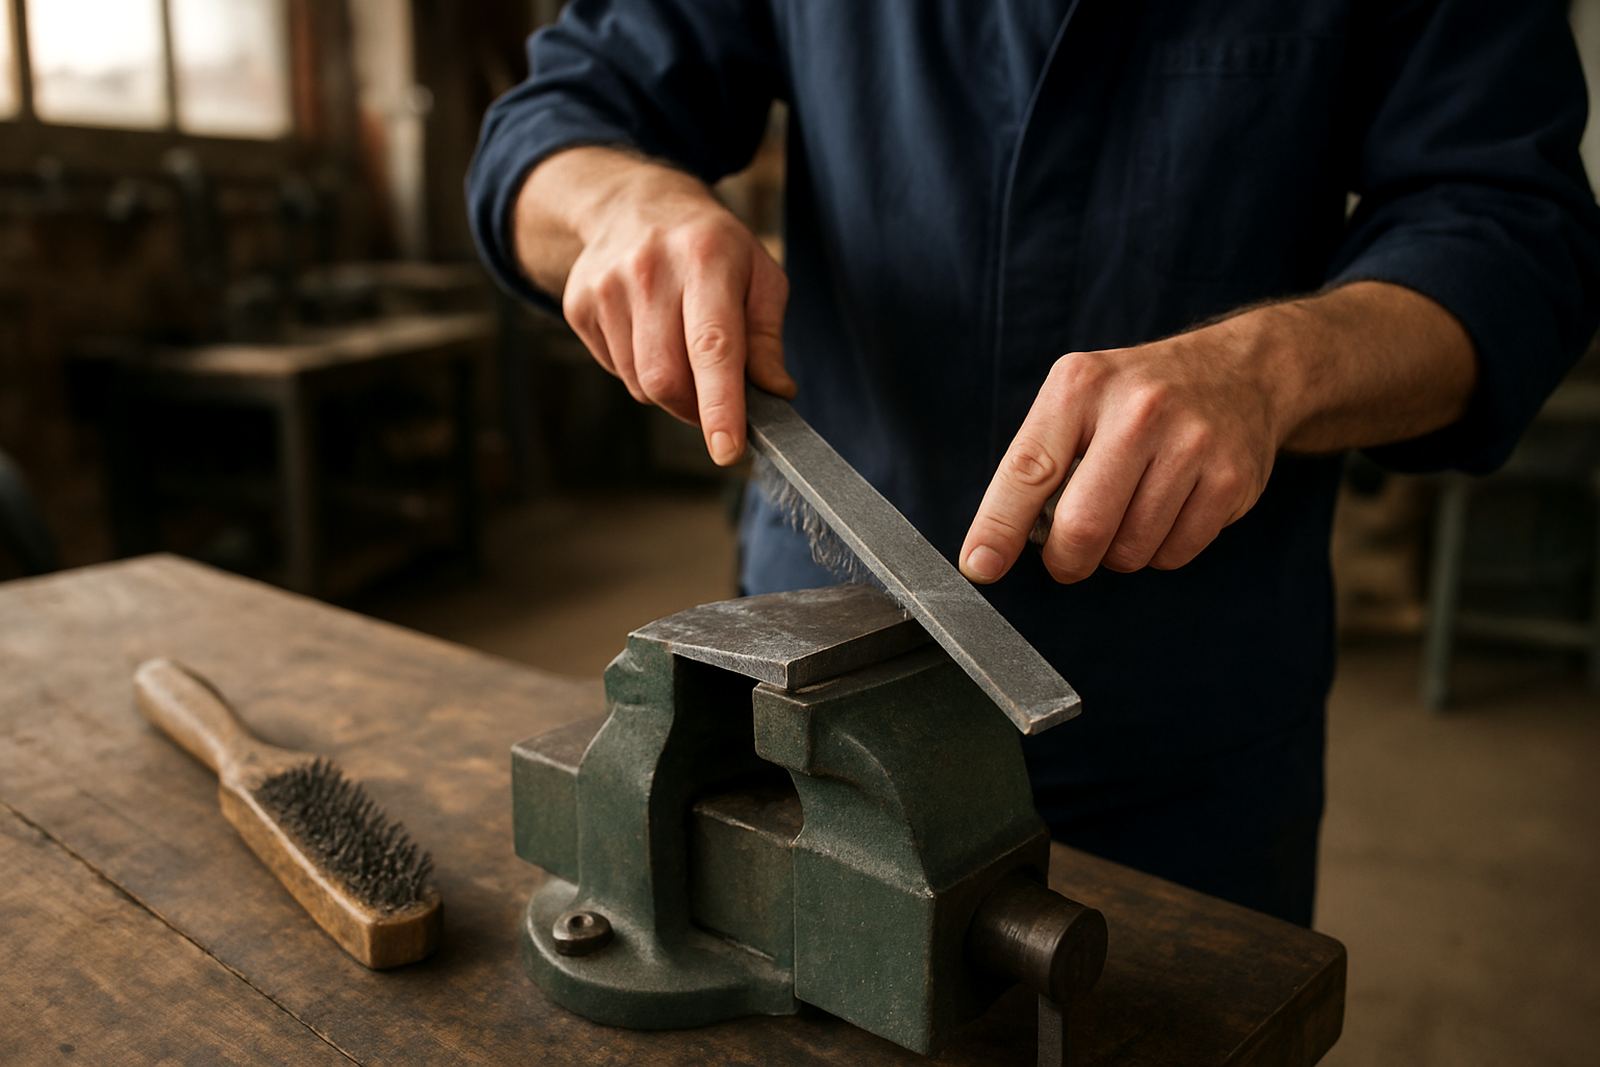
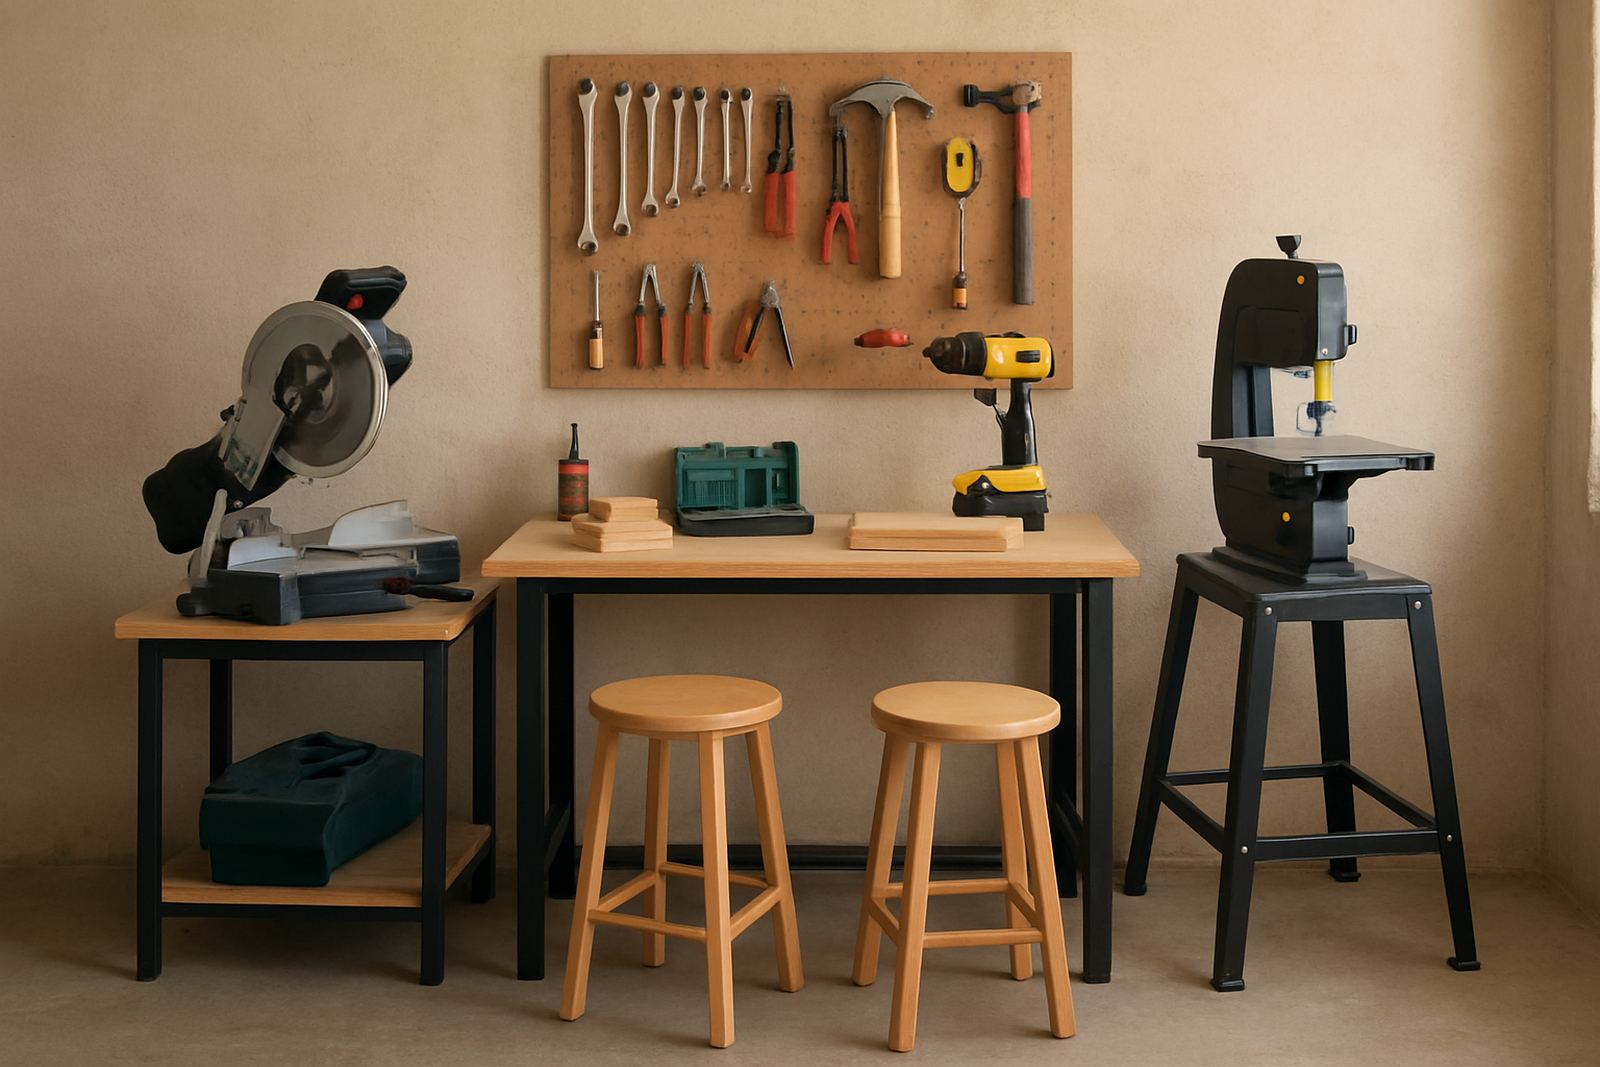
A good training corner should be simple enough for a beginner, but complete enough to teach proper use. Start with common hand tools, a few power-tool accessories and safe practice materials such as offcuts, scrap board and test fasteners. This lets people learn technique without wasting good stock.
The aim is to teach sequence. For example, a new user should know how to mark out, clamp, drill a pilot hole, fit the correct bit, tighten by feel and check the result. If the space has only one or two tools, learners end up waiting or improvising. If it has too much, the corner becomes a storage dump. Balance is important.
- Measuring and marking tools: tape measure, square, pencil, level and rule
- Hand tools: screwdrivers, pliers, spanners, hammer and clamps
- Power-tool accessories: drill bits, driver bits, sanding discs and cutting discs
- Safety items: eye protection, hearing protection, gloves and dust masks
- Consumables: screws, anchors, plugs, blades and wipes for quick clean-up
If your team serves homeowners as well as trades, include a few common household fixings too. That makes the corner useful for product demos and for teaching the difference between light duty and trade duty use. Keep every item labelled so the learner can put it back in the right place without asking twice.
Set the routine before anyone starts practising
The best training corner still needs a simple routine. New users should learn the same steps every time: check the tool, check the accessory, check the material and check the work area. That habit reduces damage and builds confidence quickly. It also makes it easier for a supervisor to spot where a mistake starts.
Use printed or laminated instruction sheets next to the corner. These can cover battery care, bit selection, safe clamping and basic cleaning after use. In a Durban workshop where staff may move between several jobs in one morning, a short reminder sheet saves time and keeps the process consistent. Keep the language plain and the steps numbered.
For first-time users, keep practice sessions short. Twenty minutes of proper repetition is usually better than a long session where attention drops off. The learner should finish with one clear win, such as drilling a straight hole or making a neat fastening pattern. That one clean result builds confidence faster than a long list of corrections.
Keep consumables and replacements organised from the start
A training corner works best when the consumables are easy to count and replace. If drill bits are blunt, plugs are mixed up or fasteners are scattered in old tins, training slows down and frustration goes up. Standardising stock from the beginning makes replenishment easier later on.
This is also where a replacement plan helps. Keep one labelled section for worn items, one for working stock and one for emergency replacements. When an accessory starts cutting badly or a bit shows wear, it should come out of training use straight away. That keeps lessons accurate and avoids teaching bad habits.
- Label drawers by function, not just by size
- Use clear containers for small fixings and set counts for each kit
- Keep a short stock list for monthly checks
- Replace worn consumables before a training session, not after
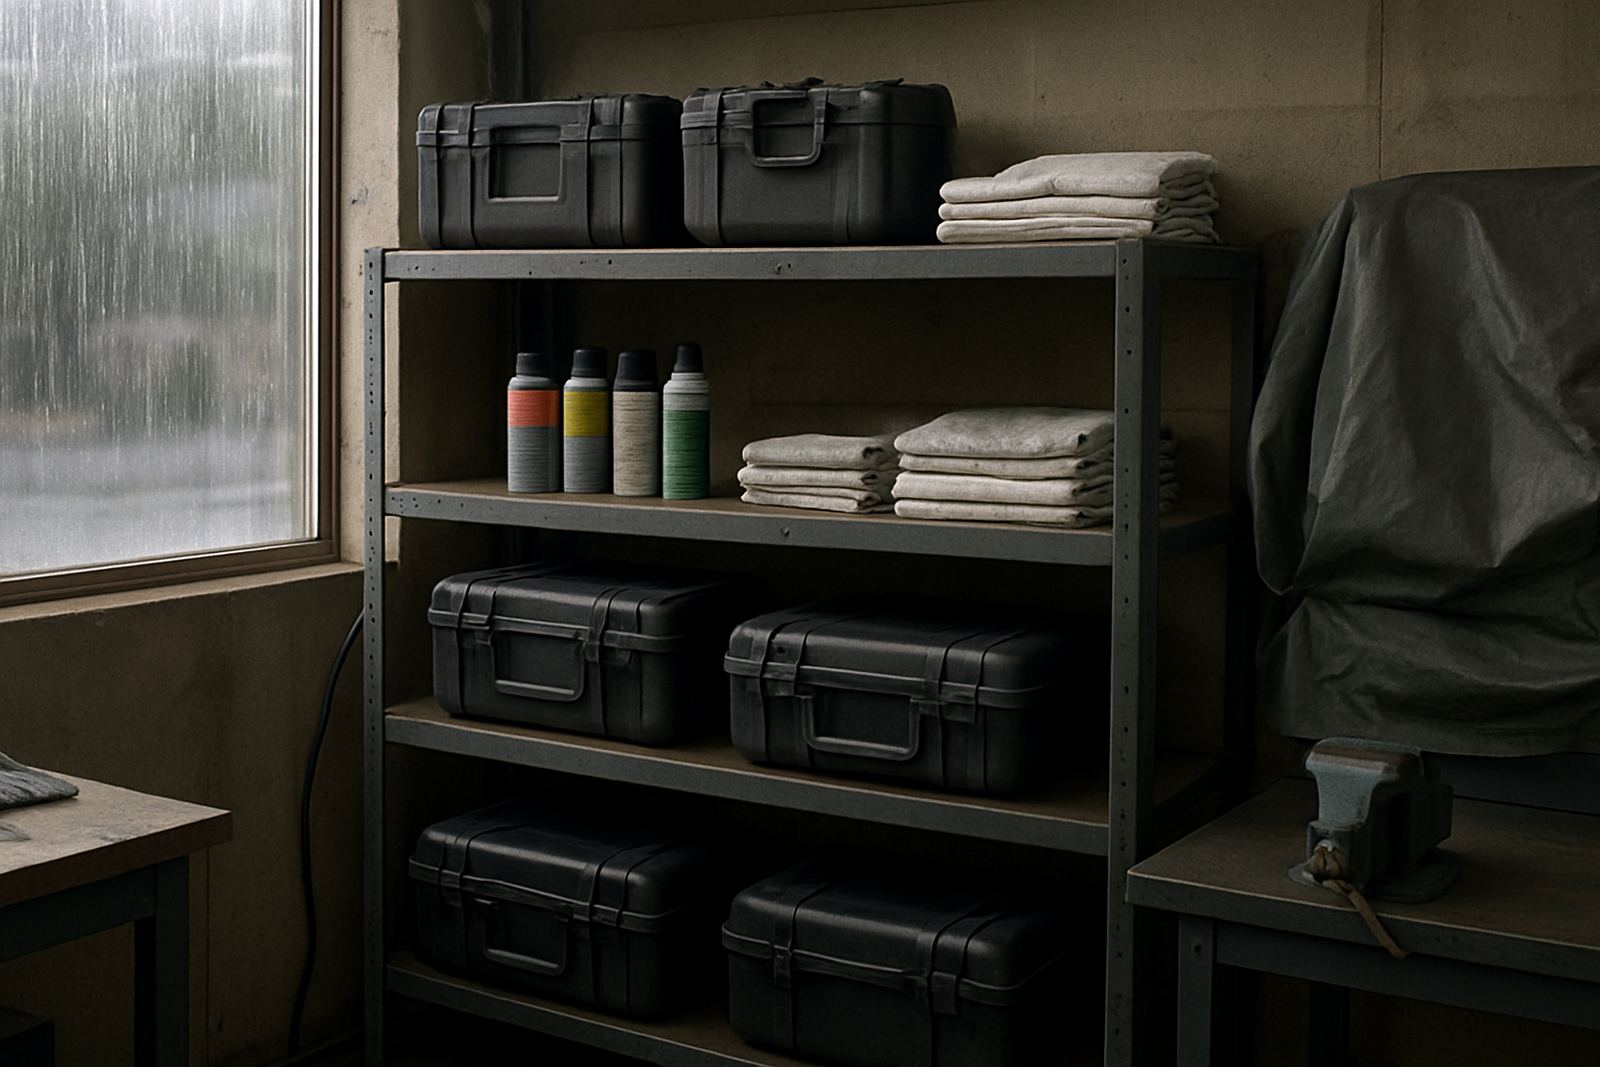
In coastal areas like Durban North and Umhlanga, sealed storage helps protect metal items from humidity. A simple cupboard with closed bins is usually enough. It is not about over-engineering the space, just keeping the gear ready when someone needs it.
A simple local example from Pinetown to the trade floor
Picture a small Pinetown maintenance team with two apprentices and one experienced supervisor. Before they set up a training corner, every lesson happened at the main work table. Tools were shared, fasteners were mixed with job stock and nobody knew which bit set belonged where. The result was slow learning and a fair bit of rework.
They changed one section of the workshop into a practice space. A wall shelf held the core kit, a clear bin stored offcuts and a notice board carried the basic steps for drilling, fixing and cleanup. The supervisor spent ten minutes at a time showing one skill, then watched the learner repeat it three or four times. After a few weeks, the apprentices were setting up faster and asking better questions.
That is the point of the training corner. It does not need a big footprint. It just needs order, a bit of discipline and tools that are matched to the skill being taught. Whether you are in Hillcrest, New Germany or Durban North, the same principle applies: keep learning separate from production when you can, and the whole workshop benefits.