
Why Screws Strip in the First Place
Most stripped screws are not caused by bad luck. They happen when the driver bit is the wrong size, the angle is off or the operator pushes too lightly or too hard. In a busy workshop, that usually shows up on site fittings, cabinet work, machine guards and small maintenance jobs where a screw has to be driven quickly before the next task. Once the head starts to round out, every turn gets harder.
In Durban and Pinetown, moisture also plays a part. Rust on stored fasteners, salty coastal air and dust from open workshop doors can make screws bite unevenly. Add load-shedding, which often means rushing to finish a fixing before the power cuts again, and it becomes easy to tilt the driver or use a worn bit. A small slip is enough to chew out the head.
Choose a Bit That Actually Matches the Head
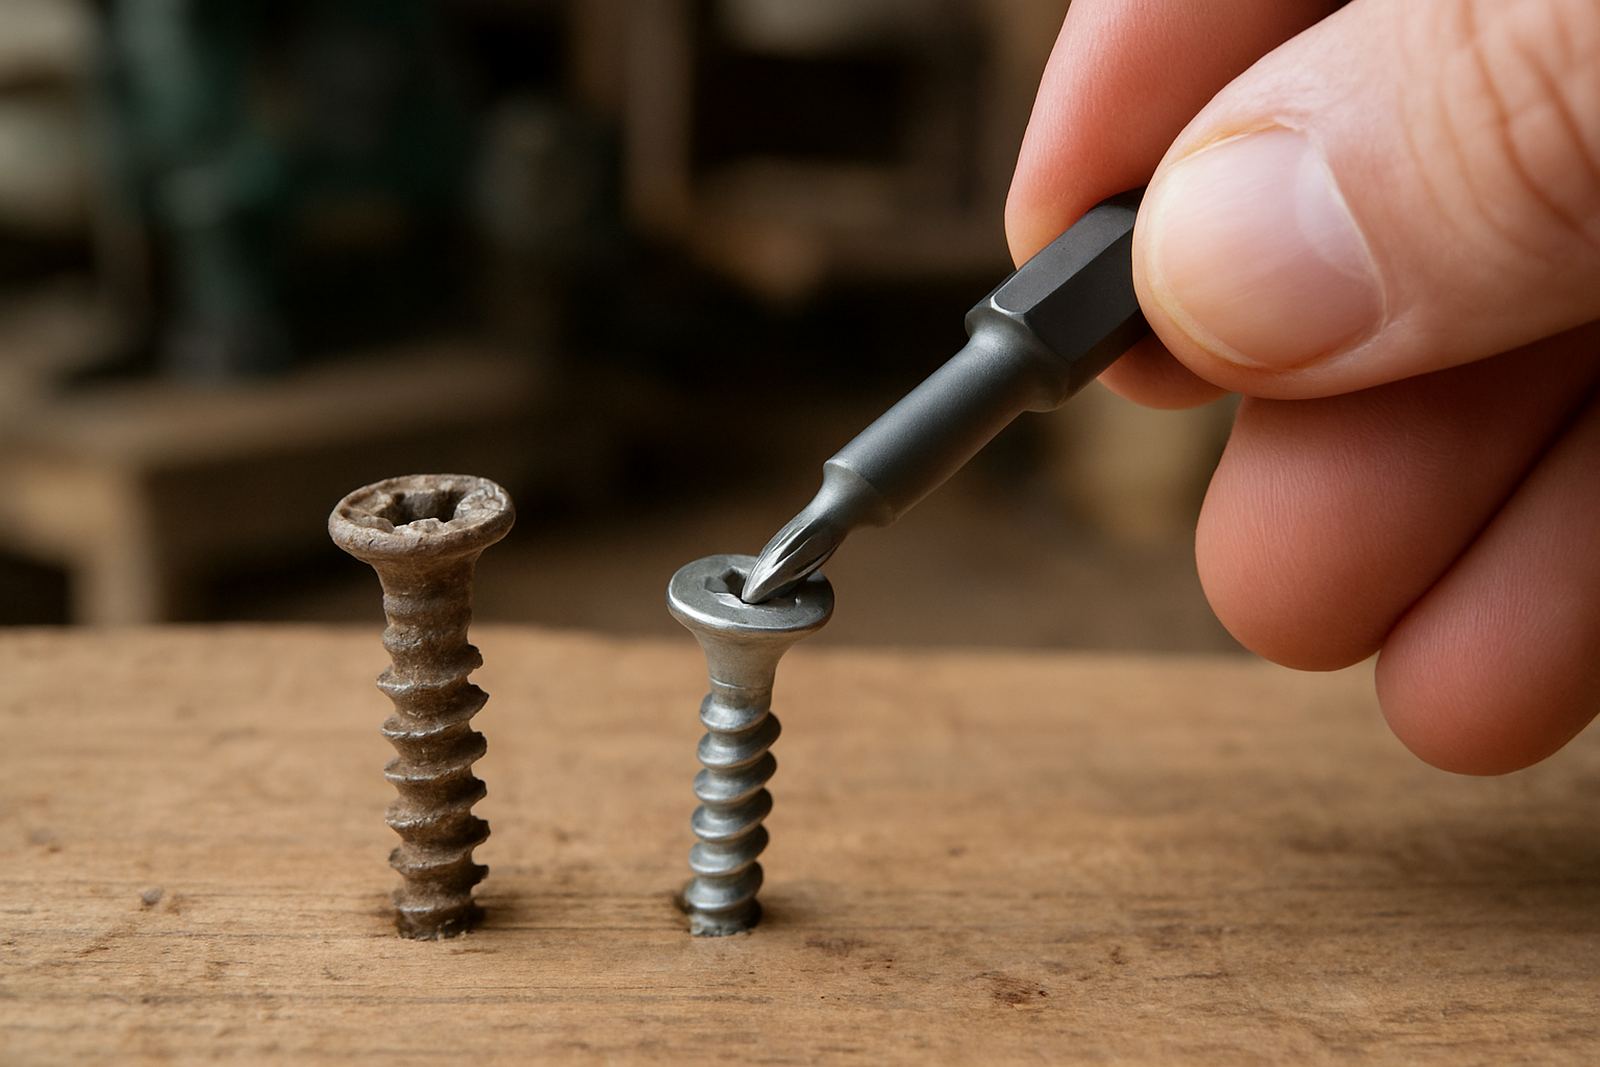
The first rule is simple: the bit must fit the screw head properly. A bit that is even slightly undersized will cam out under pressure and damage the head. One that is too large may sit on the edges and skid. Before starting, check the profile carefully and keep the bit fully seated in the fastener. If the screw has already been used a few times, inspect it first, because a tired head will fail faster.
- Use the correct profile for the screw head, not just a close enough one.
- Replace worn bits early. A rounded bit causes rounded screws.
- Keep a separate set for impact work and another for light assembly if possible.
- Store bits clean and dry so grit does not wear the contact faces.
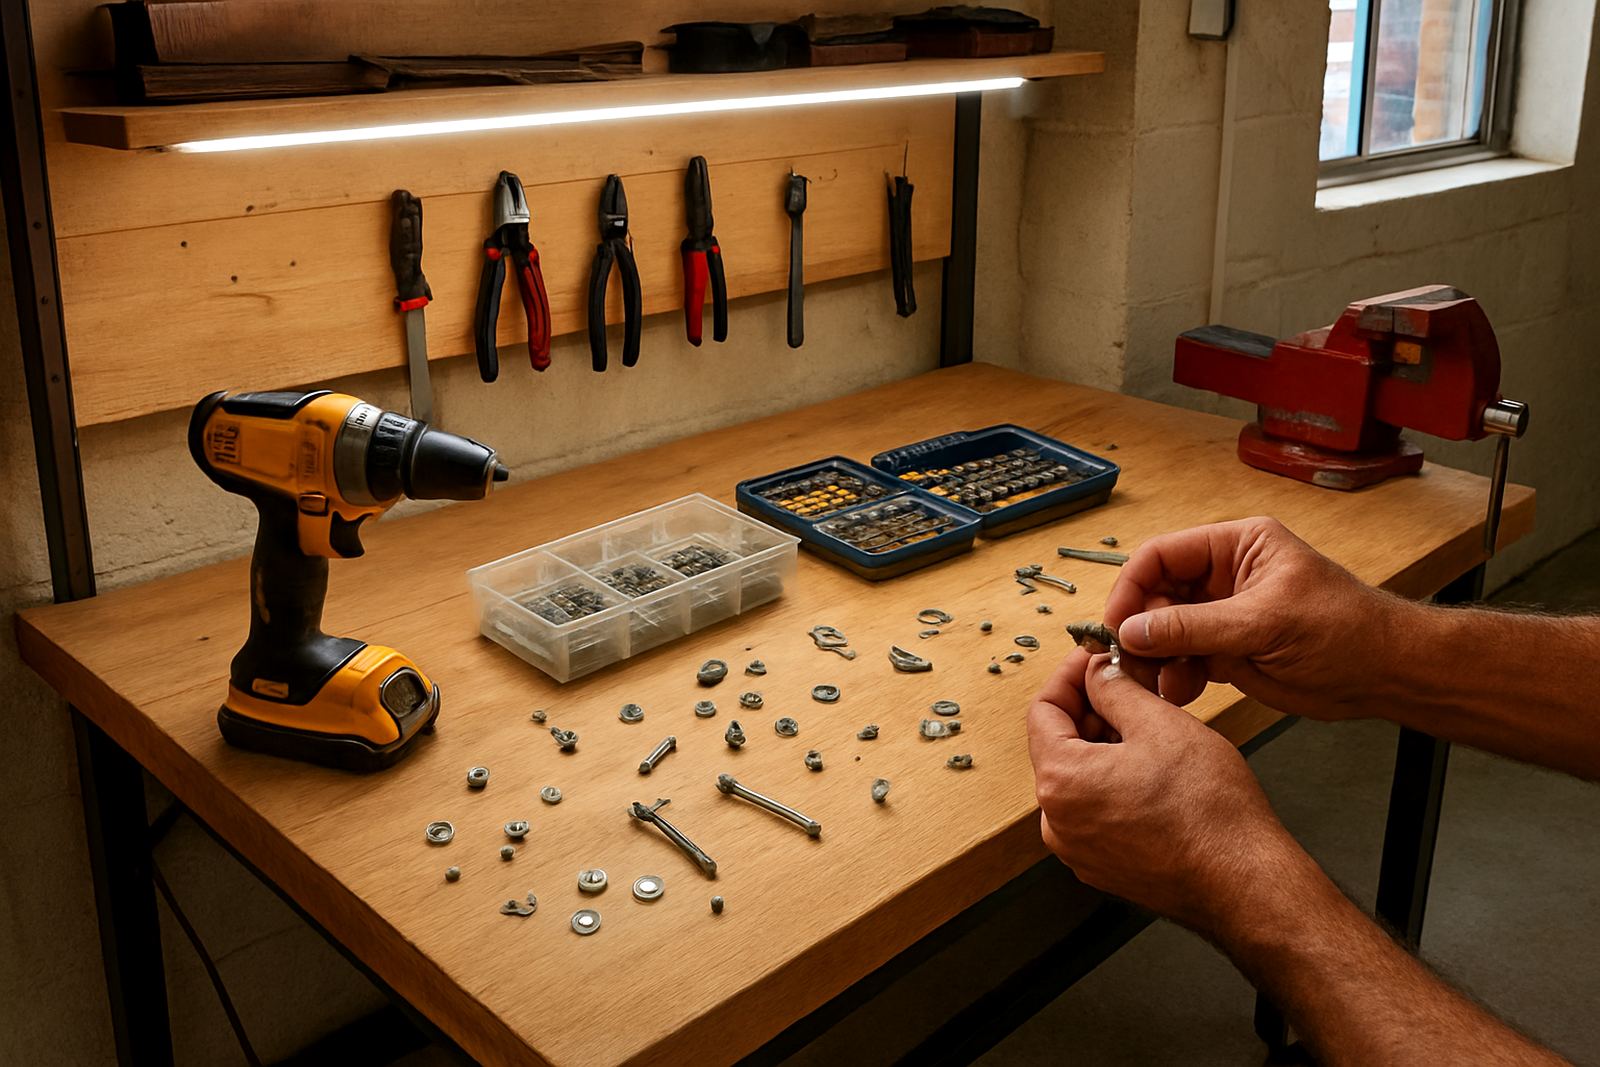
At Jameson Tools, many trade teams ask for starter kits that include the most-used driver sizes plus spares. That makes sense, because the right bit is cheaper than replacing a panel or redoing a job.
Keep the Driver Square to the Surface
Alignment matters as much as the bit size. If the driver is leaning even a few degrees, the force is uneven and the head starts to deform. On overhead work or tight corners, it helps to pause, reset your stance and bring the tool in square before you apply pressure. That one extra second can save a whole batch of fixings.
For recessed screws, use extension pieces or shorter driver holders where needed so your hand is not fighting the angle. In Pinetown workshops, we often see this problem on control panels, shelving and bracket installs where the screw sits deep in a cavity. The deeper the recess, the easier it is to lose alignment.
- Check your wrist, not just the tool tip, when lining up the screw.
- Use a stable footing before driving long screws.
- For awkward positions, pre-start the screw by hand if practical.
- Stop if the bit begins to wobble or slip and reset before continuing.
Pressure Should Be Firm, Not Forced
Too little pressure lets the bit jump out of the head. Too much pressure can crush softer fasteners or make you overdrive the screw, especially in timber, plastic and light sheet material. The best approach is steady firm pressure that keeps the bit seated while the tool does the work. If the screw begins to resist, back off and check whether you are driving into a blocked hole, paint buildup or cross-threading.
On a workshop floor, I have seen operators lean into a screw because they want to finish before the next power cut. That usually ends with a stripped head and a wasted fastener. Better to slow down for five seconds than to drill out a screw later. Small habit, big difference.
Prepare the Fastener Before You Drive It
Good preparation reduces the load on the driver and the screw head. Clear paint, rust flakes, swarf and dust from the hole. If the screw is going into timber, make a pilot hole where needed. For metal work, check that the thread path is clean and that the screw is the correct length. A screw that binds halfway down often strips because the operator keeps turning instead of stopping to investigate.
- Blow out or brush away debris from the hole before fastening.
- Use the right pilot hole size for timber and board materials.
- Match the screw length to the material thickness.
- Replace damaged screws instead of trying to save them.
In coastal areas around Durban North and Umhlanga, corroded fixings are common on stored equipment and outdoor fittings. If the screw looks suspect, replace it early. Trying to reuse a corroded fastener is asking for trouble.
Train the Team on the Small Stuff That Saves Time
Most stripped screws come from repeated small errors, not one big mistake. That is why tool inductions and short refresher sessions help so much. A team that knows how to spot bit wear, align the driver properly and stop when a screw starts to cam out will work faster and waste less material. This is useful for new hires, seasonal staff and anyone moving between different workshop tasks.
Jameson Tools supports workshops with practical tool guidance, starter kit bundling and on-site tool inductions for teams that want fewer call backs and less consumable wastage. For businesses in Pinetown, Westmead, New Germany and Hillcrest, that can make stock management easier too. If your team uses the same screw types across jobs, standardising the list keeps replacements straightforward and the cupboard better organised.