
Start with the work you do most often
Before buying lights, look at the jobs happening in the workshop every day. A space used for hand tool repairs needs bright, even light over benches, while a fitting area may need extra focus on small parts and markings. If you cut, drill, assemble and pack goods in the same room, plan lighting for each task instead of fitting one light and hoping for the best.
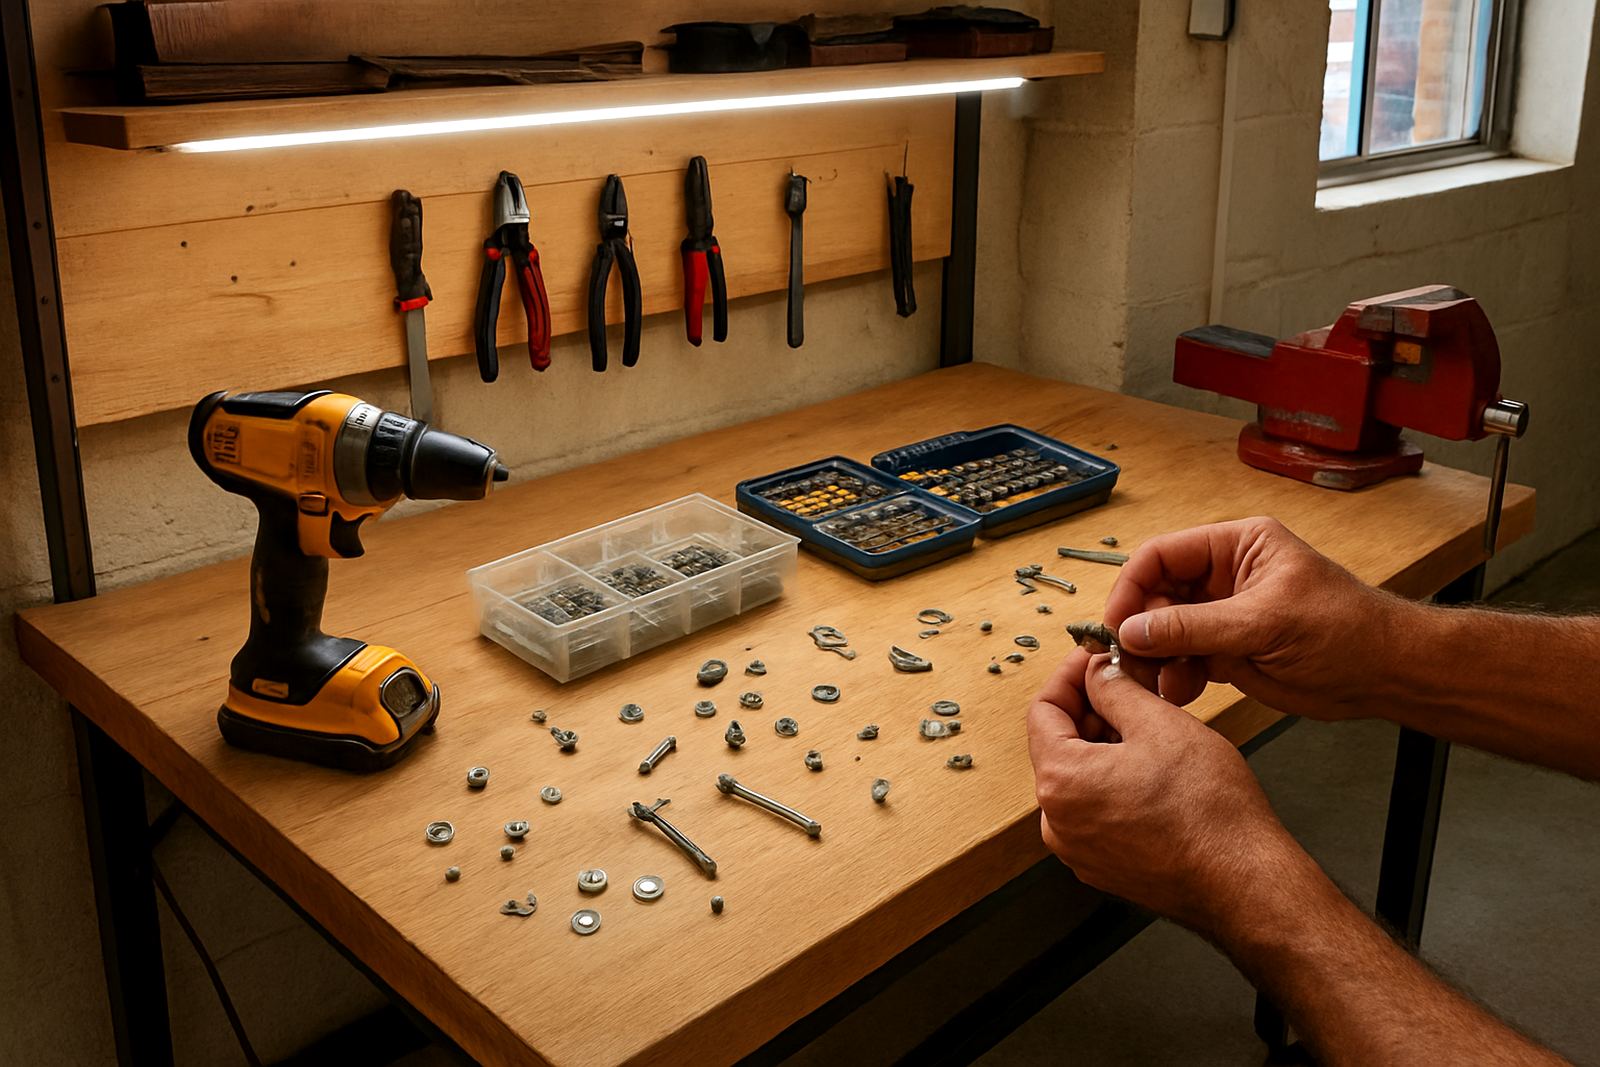
A good rule is to match the light to the task. General workshop lighting should make the room easy to move through, but bench lighting should do the fine work. That means fewer shadows across vice jaws, clearer line marks on timber or metal, and less strain when checking measurements or reading labels on fasteners. In busy shops near Westmead or New Germany, that difference shows up fast in the quality of the finish.
- General light for walking areas and stock shelves
- Focused light for benches, assembly tables and inspection points
- Portable light for breakdowns, repairs and load-shedding backup
Choose brightness that suits the bench, not just the room
Workshop lighting is often judged by how bright it looks, but brightness alone is not enough. You want enough light to see detail without glare bouncing off white paint, polished steel or glossy boards. In practical terms, the bench should feel clear and comfortable, not harsh. If workers keep leaning forward to see better, the lighting is too weak or badly placed.
For a small trade workshop in Pinetown, a mix of ceiling fittings and task lights usually works better than one central fitting. Ceiling lights cover the floor and storage areas, while a movable light or lamp can be positioned where the work is happening. This is especially helpful for older buildings where the ceiling height is lower than ideal and one fitting would leave dark patches. Lighting that is too dim can also make mistakes harder to catch, and that costs time later.
- Use even overhead lighting to reduce dark corners
- Fit task lighting where detail work happens most often
- Avoid glare on shiny tools, rulers and machine surfaces
Plan for Durban heat, dust and coastal moisture
Durban workshops deal with humidity, salty air and dust, especially in areas closer to the coast. That can affect fittings, covers and mounting hardware over time. If the workshop is in Umhlanga, Durban North or other coastal areas, lighting should be chosen with moisture and corrosion in mind. In inland industrial areas like Pinetown and Westmead, dust build-up is often the bigger issue.
That means checking whether fittings are enclosed enough for the space, and whether globes or tubes will be easy to replace without shutting down half the bench area. It also helps to think about cleaning. A light that gets coated in grime quickly will lose output, and nobody notices until the room feels dull. Regular wiping and a simple service schedule can keep performance up, which matters when the team is trying to keep pace with orders and repairs.
- Check for moisture protection in coastal or semi-open workshops
- Choose fittings that are simple to clean and maintain
- Replace damaged covers quickly to keep dust out
Build a lighting plan that survives load-shedding
When the power goes out, poor lighting becomes a safety issue straight away. A workshop should have at least one backup option for key areas like assembly, picking and tool storage. Portable lighting is useful, but it needs to be planned, charged and stored where staff can reach it fast. If the backup lights are locked away in another room, they are not much use when the outage starts.
In practical terms, the best approach is a layered one. Keep fixed lighting for normal work, then add rechargeable or battery powered options for emergencies. Test them regularly, because batteries age and output drops over time. In a real workshop, someone always assumes the light is charged until the day it is needed. Better to check once a week than lose half an hour during a delivery pack-out or a machine repair.
- Keep one backup light at each main work area
- Test batteries and charging leads on a set schedule
- Store spare globes or fittings with other critical consumables
Use task lights to improve measuring and assembly
Measuring is where good lighting really pays for itself. A clear beam over the bench helps you see the end of a tape, the edge of a cut line, or the alignment of a bracket before fasteners go in. It also cuts down on eye fatigue during longer shifts. When the team is squinting at marks, small errors creep in and that leads to rework later.
Task lights should be placed so they do not cast your own shadow over the work. That is a common mistake in smaller workshops. If a worker stands between the light and the bench, the exact area they need to see goes dark. Adjustable fittings solve this by letting the light move with the job. For assembly benches and inspection tables, this kind of control is often more useful than a brighter general fitting.
Match the lighting plan to your workshop layout
A tidy workshop is easier to light well. If stock, tools and packing material are spread across every surface, light gets wasted on clutter instead of the work area. Start by standardising bench spaces, shelf positions and walkways. Then decide where the brightest light is needed and where a basic level is enough. That gives you better results without overbuying fittings.
In one Pinetown setup, a small fabrication team reduced mistakes by splitting the room into three lighting zones: the cutting area, the assembly bench and the stock wall. They did not install anything fancy. They simply matched the light to the work and added a portable lamp for power cuts. The change was noticeable within a week, and the team said the benches felt less tiring by the end of the day. It wasnt about more light everywhere, just better placed light where it mattered.
- Zone the workshop by task, not only by floor space
- Keep walkways clear so light is not blocked by stored items
- Add portable lights to the areas that stop work first during outages
Get the right setup before the busy season starts
Lighting is one of those workshop choices that is easy to delay until something goes wrong. But once the busy season starts, you do not want staff stopping to fetch extension lights or squint at labels on small components. A proper lighting review before year end, after a move, or when taking on more jobs can save time and reduce mistakes. It also supports a better working pace for newer staff and trainees.
For workshops in Durban, Pinetown and surrounding areas, the right setup usually combines fixed general light, task lighting and a backup option for outages. If your benches are changing, your stock room is growing, or you are training new staff, it is worth checking whether the current lighting still fits the work. Good light does not call attention to itself. It simply helps the job move smoothly, one measurement and one assembly at a time.